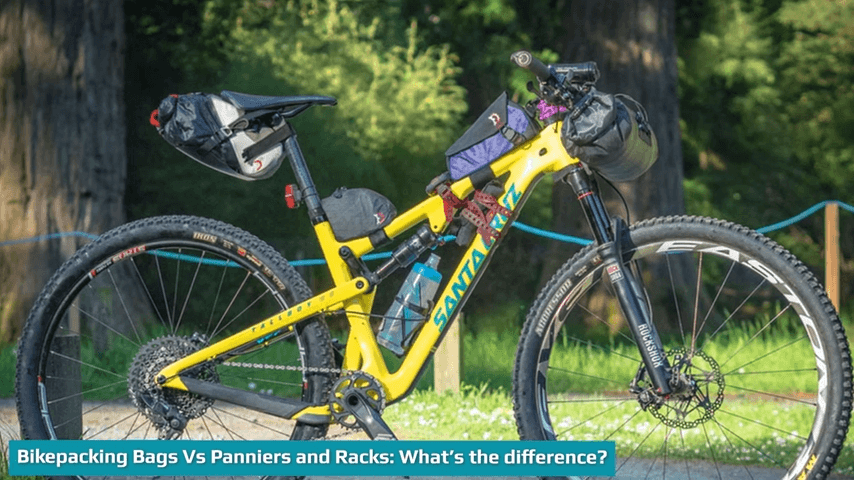
Are you considering switching from traditional bike touring gear to bike packing bags? Join Tom and John as they share their experience and advice during their around-the-world Journey. They provide an in-depth analysis of weight and volume differences between panniers and bike packing bags. Additionally, they offer helpful tips for transforming your heavy bike touring kit into a lightweight bike packing setup. Learn WHAT IS THE DIFFERENCE BETWEEN SADDLE BAGS AND PANNIERS? why you want to switch and get inspired to hit the road with a streamlined setup.
Halfway through our bike ride from Alaska to Chile, we started questioning the advantages of exchanging panniers for bike packing bags. We were tired of riding along highways and paved roads and wanted to explore deeper off the beaten path. However, when we found ourselves dragging our heavy-loaded road bikes along the Great Divide Mountain Bike Route in the USA, we began to wonder if there was an easier way to explore those outlying places by integrating lighter bike packing bags and gear innovations into the world of bike touring.
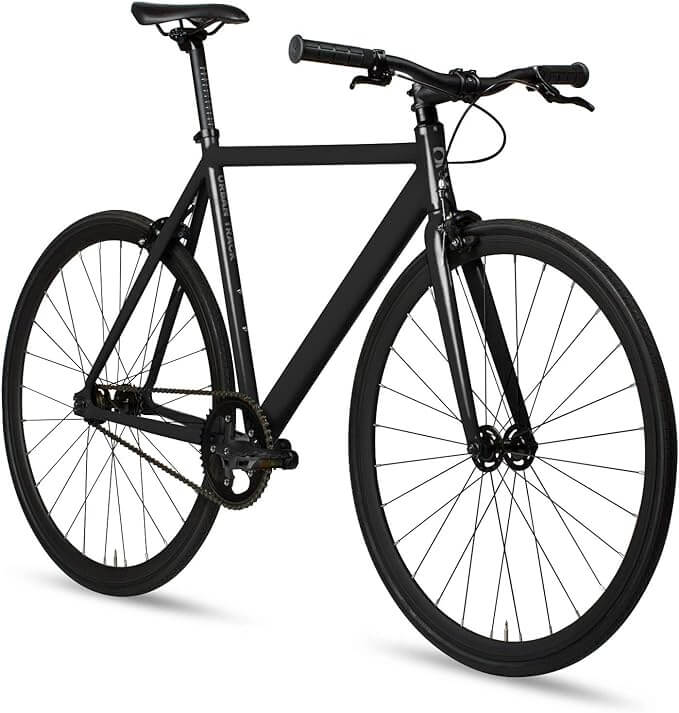
Most long-distance cyclists opt for a traditional steel-framed road bike with the familiar four-pannier racks and baggage setup. This configuration is reliable and durable, making it a well-approved choice, especially for those who plan to make “life on the road” their home for a few months and must carry all their necessities. Adventurous folks have always traveled on rough roads and in remote places regardless of their heavy-loaded bicycles.
However, after traveling for over a year with a bikepacking setup across Mexico and South America, we are confident that this has been one of the best decisions we made during our trip. For anyone interested in a similar transformation, we will share how we went about it.
WHAT AND WHY IS BIKEPACKING?
Bicycle touring has been around for a long time, but bike packing has emerged as a distinct style of travel that focuses primarily on off-pavement routes. These routes often feature stretches of gravel, rough dirt roads, and even singletrack. Because of the nature of these routes, bike packers require lighter setups than traditional touring cyclists. Bike packing bags were created for this riding style and can be traced back to people who raced long off-road routes such as the Tour Divide. The aim was to reduce the weight of luggage, making it easier to ride a mountain bike with supplies and gear. This approach has since been adopted by dirt road tourers, gravel riders, and even some road cyclists.
Inspired by fellow riders along the Great Divide Mountain Bike Route, we switched to bikepacking. We sold our heavily-laden touring bikes and bought more agile mountain bikes. Of course, we were initially concerned about the durability, capacity, and comfort of our new bikepacking setups. However, after traveling across Mexico and South America for over a year, we can confidently say that it was one of our best decisions. It changed how we traveled and allowed us to explore places we couldn’t have reached before. We’ve received many questions about our transformation, so we created this guide for those interested in downsizing, changing, and modifying their touring bikes to make them lighter and more suitable for off-road adventures.
THE STAFF
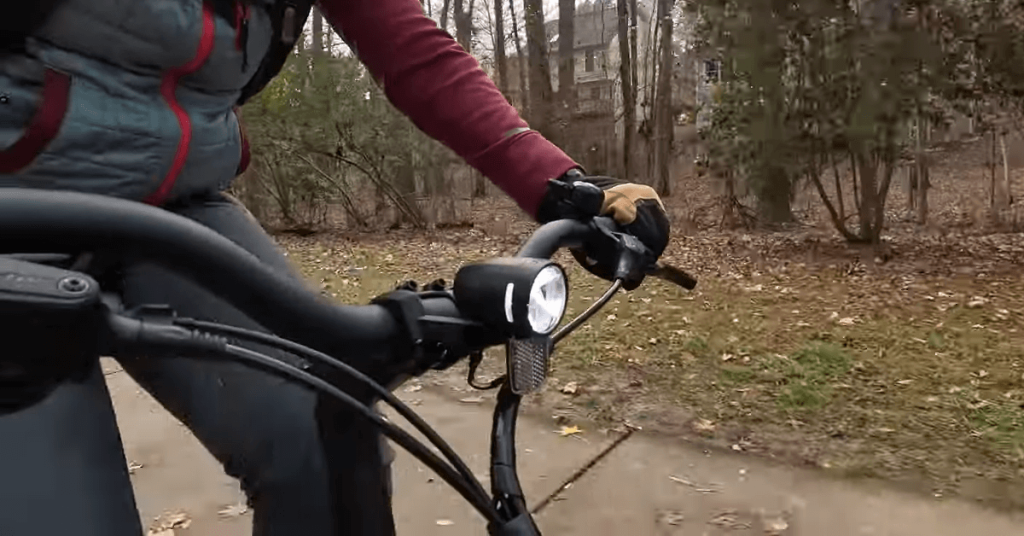
Regarding bike packing, adopting a frugal attitude and deciding what gear you need is essential. You won’t be able to fit as much equipment as you would in four panniers, so you’ll need to streamline and prioritize. Packaging for the first time can be frustrating, and realizing you can only bring some things you want. To make things easier, we suggest creating three piles: one for camping gear, one for safety gear, and one for non-essential items. Only bring what you need and resist the urge to pack things “just in case.” This will help you save space and weight and ensure you have everything you need for a successful bike packing trip.
I was all set for my seven-month fat bike trip across South America on remote tracks. I had a complete set of Revelate bikepacking bags, but I thought I’d need more space, so I set up the Pugsley with racks and four panniers. However, just a day before the trip, I changed my heart. I decided to reconsider and put the Old Man Mountain racks and mounting hardware on a scale, along with the four panniers. Then, I weighed the bikepacking bags and a rucksack. The difference was over 11 lbs/5kg, which was quite overwhelming. So, I decided to fit everything I had into the soft bags by eliminating unnecessary items ruthlessly.
After traveling for five weeks, when I was about to reach the border of Peru, I couldn’t bear the weight of my backpack any longer. The constant dirt touring left me with sore shoulders and a sweaty back, and I was determined to change. My favorite adventure book, Journey to the Centre of the Earth by the Crane cousins, inspired me to reduce my load. In the book, they also reduced their baggage before embarking on their Journey from Dhaka to Western China, considered the center of the earth because it’s the furthest place from the open ocean.
We examined our bikes for half an hour and realized we only needed two Allen keys. We also cut off the labels from our clothes and debated which underpants to bring. We reduced our map to a dog-eared corner of the northwest. Inspired by the Journey, I aimed to reduce my load by something every day for a month. I got rid of something if I didn’t use it for three days.
I have never looked back since I started traveling without panniers, a backpack, and extra stuff. These days, I take pleasure in packing items outside the bags that give my bike a unique appearance. I no longer need small stuff sacks, flip flops, ti cups, or a jacket under a bungee. Although it is not a severe self-challenge, it feels like I am trying, like the Cranes. Traveling lighter, faster, and with less material burden is somewhere between aesthetic and ascetic.
THE BIG THREE
Transitioning to a bike packing-style setup doesn’t mean you must reinvest in new gear entirely. However, it’s worth reconsidering three essential pieces of equipment to make the switch easier – your tent, sleeping bag, and sleeping mat. You must explore high-end and ultra-light gear options at your outdoor shop. We opted for a lighter and smaller three-season tent to replace our heavy and roomy all-season one.
We also replaced our bulky 1.8kg (4lb) sleeping bags with down-filled quilts that weigh no more than 0.9kg (1.9lb) and pack way smaller. We kept our old sleeping pads as they still fit well and didn’t want to spend more money. Since lighter and smaller gear is usually more expensive, a practical approach would be to replace one piece at a time, starting with the items that make the most significant difference.
For those searching for lightweight versions of the “big three” camping essentials, you may want to consider checking out the Big Agnes Fly Creek HV tents. The Hyperlite UltaMid is also a great option if budget isn’t a concern. As for sleeping pads, Sea To Summit offers some excellent ultralight mats. And if you’re in the market for a UL down quilt, Enlightened Equipment has you covered. Remember to check out our camping gear section for more reviews and recommendations.
WHAT WAS ELIMINATED
The following is John’s packing list and our shared items, with the eliminated items crossed out:
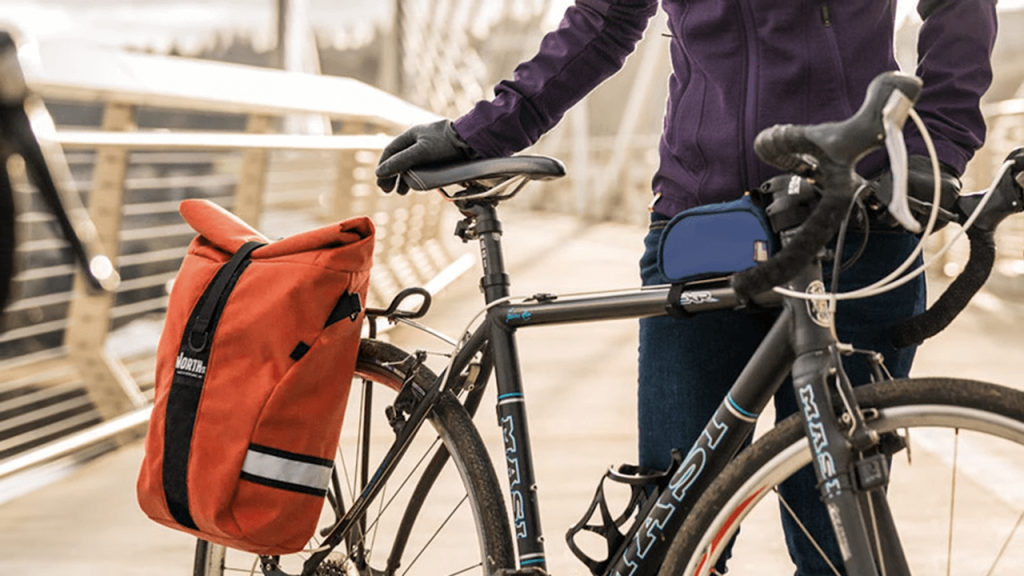
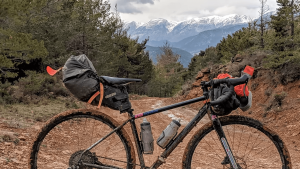
BIKE BAGS
2 Ortlieb Sport Roller Classic Rea Panniers Revelate Designs Handlebar Harness plus Drybag
1 Ortlieb Ultimate 6 Plus Handlebar Bag Revelate Designs Handlebar Pocket
2 Ortlieb Back-Roller Classic Custom Bikepack (PL) Seatpack
Tubus Logo rear Rack
Tubus Tara lowrider rack
Ortlieb Rack Pack
2 Salsa Anything Cages
Rogue Panda Rolltop Frame bag
Rogua Panda Alamogordo Top Tube Bag
Rogue Panda Rincon Top Tube Bag
Rogue Panda Oracle Downtube Bag
Durango Sewing Solutions Handlebar Bucket
TOOLS AND PARTS
Topeak Mini 18 Multi-Tool
Leatherman Squirt PS4Parktool MT-1
T25/T10 (for Avid BB7)
Topeak Chain Hook & Wear Indicator
Brooks Tension wrench
Stans Valve Core Tool
Mini Phillips Screwdriver
Tire Lever
Spokey
Stein – Hypercracker
Lezyne Micro Floor Drive High Volume Mini Pump
Curved Needle
Tube Seamgrip
Chain Lube
Prime Lok Threadlocker
Optimus Grease
Camplast Cement
Vulcanizing Fluid
Gorilla Super Glue
some Gorilla Tape and Tenacious Tape
2x Spare AA Battery
2x Spare CR 2032 Battery
2x Thin, strong rope
2x Pieces of the old sidewall
Patch Kit
Set of Tire plugs + Tool
Dental floss
2x Tubeless Valves
2x Spare tubes
1x Spare Tire
A few Bolts/washers/nuts
Spare cleats + bolts
3 x 11-sp quick links
Piece of 11-sp chain
2x Shifting cable
2x Brake cable
Optimus Stove Maintenance Kit
4x Pairs of BB7 brake pads
Rag
Chain Brush
4x Spokes (2 lengths)
several cable ties
SLEEPING AND CAMPING
Hilleberg Tarp 10 UL
Hilleberg Nallo 3 GT Hilleberg Anjan 3
Exped dreamwalker Duo Syn160 Plus
Zpacks Down Sleeping Bag Katabatic Gear Flex 15F
Exped DownMat Lite 5 Air Pad
Exped Mini Pump
Ortlieb Folding Bowl
Spare Exped Mini Pump
Hand brush for cleaning the tent
Vapor liner
CLOTHING AND FOOTWEAR
Fleece Sweater
Smartwool 250 Merino Longjohns | sleeping
Smartwool 250 Merino Longsleeve | sleeping
Thin Merino Longjohns | for colder weather
Merino Underwear
Kuhl Casual Pants
Cycling Shirt
Casual Shirt
Patagonia Houdini Windbreaker
Arc’teryx Atom LT Hoodie
Casual Shorts
Cycling Shorts
Merino Shirt
2x Pair Thin Merino Socks
Pair Warm Merino socks
Marmot Minimalist Rainjacket
Marmot Minimalist Rainpants
Gore-Tex Thermo Overshoes
OR Windstopper Gloves
Vapor liner socks
Shimano MT91 Cycling Boots
Crocs
Sunglasses
Cycling Cap
Helmet
Sun hat
KITCHEN
Optimus Polaris Optifuel Stove
MSR Quick Pot set | We use only one pot, two bowls and the cups
Gerber Knife
Titanium Spork
Spatula
2x 2L Platypus Water Bottles
1x 4L Platypus Gravity Works Water Filter System
1x 750ml Sigg Sports Aluminum Bottle
HYGIENE
Toothbrush
Toothpaste
Pack towel XSmall
Nail Clipper
Nail file
Campsoap | It’s a little bottle we keep refilling wherever we find a soap dispenser.
Pocket Mirror
First Aid Kit
Body Lotion
Vaseline
Sun cream
PHOTOGRAPHY AND ELECTRONICS
The mix of different USB cables
Anker Powerbank 10000 (will be replaced with Limefuel 6000 soon)
Anker USB Charger Plug
Tan Generator
Multi Card Reader
2 TG Harddrive (Backups)
16 GB USB Stick
Micro SD Cards | 32/64/128 GB
CF Cards | 2x 32GB 1x 64GB
Canon Battery Charger
Macbook Pro Macbook incl. Charger
Gopro 4
Canon 5D Mark II
Nikon F3 Filmcamera
Nikon 50mm Prime Lens
Nikon 65mm Prime Lens
Canon 35mm Prime Lens
Canon 50mm Prime Lens
Canon 85mm Prime Lens
Spare battery
Basic Camera Cleaning Kit | Includes a brush, lens wipes, and a dust blaster
iPod Nano
Garmin eTrex 20
Petzl Headtorch | Rechargeable through USB.
LedLenser Headtorch | Rechargeable through USB
1x Samsung Phone
OTHER
Book | Always had one book on board, which we would read.
Passport
Vaccine Pass
Paper Maps | Mexico and Central America. It’s an excellent way to show people who are interested in where you come from and where you are going. It is also practical for locals to point out route recommendations.
Small Note Book | For sketches and thoughts
Pen
Clickstand
SeaToSummit Traveling Light Backpacks
Oben TT100 Tripod
Set of cards
Abus Bordo Lite small Cable lock
Lonely Planet South America
Journal
2x Ultralight Hammocks
Little bits and pieces collected along the road
THE BIKE
If you plan to embark on a bike packing trip, you might wonder if you need to change your bike. The good news is that you don’t necessarily need a specialized bike to carry your gear. With a rackless bike packing setup, you can use any bike you already have. Having fewer items to carry means that there is less strain on your bike. Therefore, you don’t need a motorcycle with heavy-duty tubing designed to take racks and heavy loads, such as those used for touring or trekking.
However, bike packing often involves exploring unpaved and rugged terrains. If you plan on venturing off the well-maintained roads, consider upgrading to a bike that can handle rough terrain. We faced similar concerns when we tried to leave the paved roads for more adventurous routes. Our Surly Disc Truckers were great on dirt and gravel roads, but we wanted more freedom to explore the backcountry.
After thorough research, we discovered that we needed bikes with larger-volume tires. Wider tires are ideal for riding on sand, mud, and snow and offer more suspension and comfort on rough terrain. Plus, they don’t require the maintenance of an air shock or fork. After experiencing bone-rattling rides on rocky downhills, we appreciated the cushioning effect of plus-sized tires.
If you consider upgrading your bike, you might want to check out second-hand mountain bikes with 2″ + tires. Make sure they have disc brakes and ideally feature a steel frame. You can also check out the extensive list of bike reviews for more inspiration and helpful insight on choosing the right bike for your bike packing adventure.